

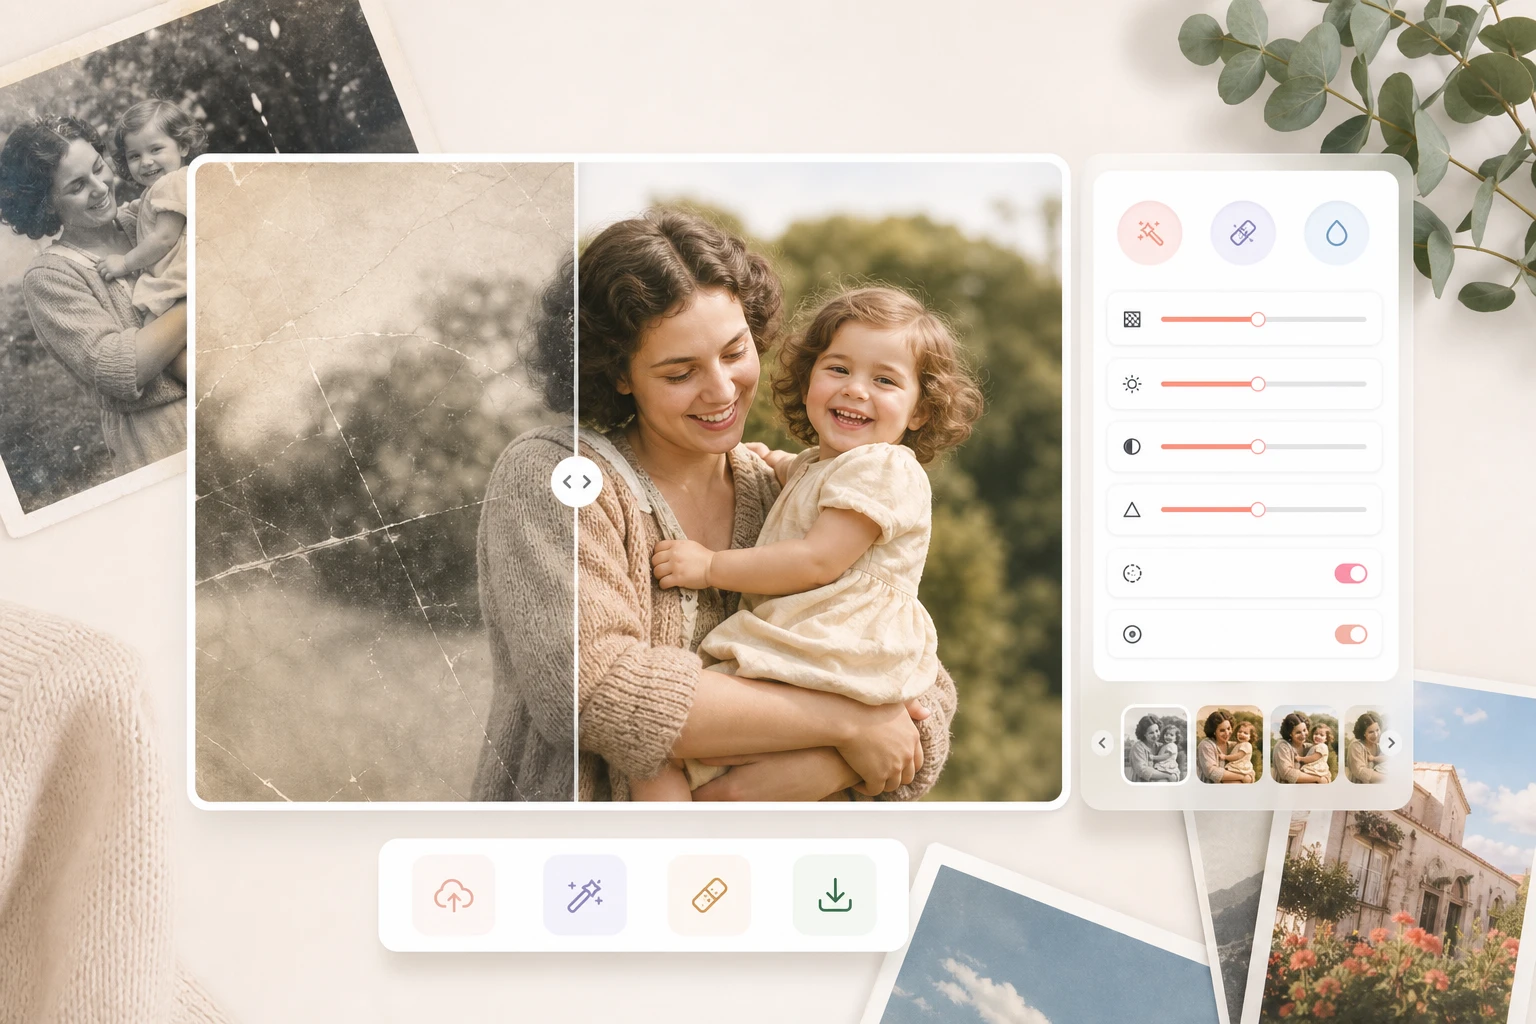


You took a great photo but it looks fuzzy. It is a common problem for photographers and casual users. You don’t have to delete those memories anymore. Modern technology allows you to unblur pictures online free with just a few clicks. These tools work by looking at the pixels and rebuilding the lost detail. They can turn a shaky shot into a clear memory you can share with friends.
Using a dedicated AI Photo Editor can save you hours of manual work. These programs use smart algorithms to identify where the blur came from. They can tell if the camera moved or if the subject was out of focus. Once the tool knows the cause, it applies specific fixes to bring back the clarity you need. This process is much faster than trying to fix the image yourself in a complex design program.
AI tools are different from old photo filters. In the past, sharpening a photo just made the edges look darker. It often added a lot of grain and made the picture look worse. Modern AI actually understands what it is looking at. If it sees a blurry eye, it knows how an eye should look. It fills in the missing information to create a natural result. This is why these tools have become so popular for fixing old family photos or quick snapshots.

Step by Step Guide to Clearing Blurry Images
Step 1: Select the Right AI Tool
The first thing you need to do is pick a tool that fits your needs. There are many options available on the web. Some are built for professional photographers while others are made for beginners. You should look for a tool that offers a simple interface. You do not want to spend hours learning how to use a single button. Most web-based tools allow you to drag and drop your file directly into the browser. This makes the process very fast and easy for anyone to handle.
Step 2: Upload Your Blurry Image
Once you have chosen your tool, it is time to upload your file. You should try to use the original file whenever possible. If you use a screenshot or a photo that has been sent through a messaging app, it might have lost some quality already. High resolution files give the AI more data to work with. The more data the AI has, the better the final result will be. Most tools support common formats like JPEG and PNG. Simply click the upload button and select the image from your computer or phone.
Step 3: Choose the Enhancement Mode
After the image is uploaded, you will often see different options for enhancement. Some tools have an auto mode that does everything for you. Others let you choose between fixing motion blur or lens blur. Motion blur happens when the camera or the subject moves during the shot. Lens blur happens when the camera does not focus correctly. If you are not sure which one to pick, the auto mode is usually your best bet. The AI will analyze the image and decide which fix is most appropriate.
Step 4: Adjust the Intensity Sliders
Most AI editors provide a slider to control how much sharpening is applied. You might be tempted to push the slider all the way to the top. However, this can sometimes make the photo look fake or plastic. It is better to start in the middle and move up slowly. Look at the small details like hair or eyes. You want these areas to look sharp but natural. If you see weird patterns or spots appearing, you have probably pushed the slider too far. Back it off until the image looks clean again.
Step 5: Preview and Download
Before you save your work, always look at the preview. Most tools show a before and after comparison. This allows you to see exactly what changed. If you are happy with the result, click the download or save button. Some tools will ask you what format you want. JPEG is great for sharing on social media because the file size is small. PNG is better if you want to keep the highest quality for printing. Once you save the file, you are done.
Tips and Best Practices for Better Results
To get the most out of AI tools, you should follow a few simple rules. First, always work with a copy of your original photo. You do not want to overwrite your only copy just in case you want to try a different tool later. Second, try to fix the lighting before you fix the blur. A dark, blurry photo is much harder for the AI to understand than a bright, blurry one. Use a basic editor to bump up the exposure if the shot is too dark.
Another good tip is to zoom in while you are editing. You might think the photo looks great from a distance, but you will see the real details when you zoom in to 100 percent. This helps you spot any mistakes the AI might have made. If the AI creates strange shapes in the background, you can use a blur tool to soften those specific areas. This keeps the focus on your subject while hiding any digital errors.
| Feature | Purpose | When to Use |
| Denoising | Removes digital grain | Use for photos taken in low light |
| Deblurring | Fixes shaky camera movement | Use when the whole image is fuzzy |
| Sharpening | Defines edges | Use to make small details pop |
| Upscaling | Increases image size | Use when you want to print a small photo |
You should also consider the composition of your photo. AI is very good at fixing faces and people. It is sometimes less effective at fixing complex textures like grass or gravel. If your subject is clear but the background is still a bit messy, that is usually okay. In fact, a slightly blurry background can make your subject stand out more. This is a common technique used by professional photographers to create a sense of depth.
Common Mistakes to Avoid
One of the biggest mistakes people make is expecting the AI to fix a completely ruined photo. If a photo is so blurry that you cannot even tell what the subject is, no tool can fix it perfectly. The AI needs at least some basic shapes and colors to work with. It is a tool for enhancement, not for creating something out of nothing. If the original photo is too far gone, you might be better off trying to retake the shot if that is an option.
Another mistake is over-processing the image. When you apply too many different effects at once, the photo starts to look like a painting. You lose the natural texture of skin and clothing. This is often called the soap opera effect because everything looks too smooth. To avoid this, use a light touch. It is better to have a slightly soft photo that looks real than a perfectly sharp photo that looks like a cartoon.
People also forget to check the resolution of their output. Some free tools limit the size of the image you can download. If you upload a large photo and download a tiny one, you have lost quality even if the image looks sharper. Always check the settings to make sure you are saving the file at its original size. This ensures that you can print the photo or view it on a large screen without seeing pixels.
Finally, do not ignore the importance of steady hands in the future. While AI is great for fixing mistakes, it is always better to get a sharp shot the first time. Use a tripod or lean against a wall to keep your camera steady. Use a faster shutter speed if you are taking pictures of moving objects like pets or children. These simple habits will reduce the amount of time you need to spend in front of an editor later on.
Conclusion
Fixing blurry photos used to be a task for experts only. Now, anyone can do it thanks to the power of AI. By following a simple step by step process, you can rescue images that you thought were lost. Remember to choose the right tool for the job and avoid the temptation to over-sharpen your work. Use the tips provided to ensure your photos look natural and professional. With a little practice, you will be able to turn your fuzzy snapshots into crisp, clear images that you can be proud to show off. Technology is here to help you keep your memories sharp for years to come.